 The Wallet Shoppe
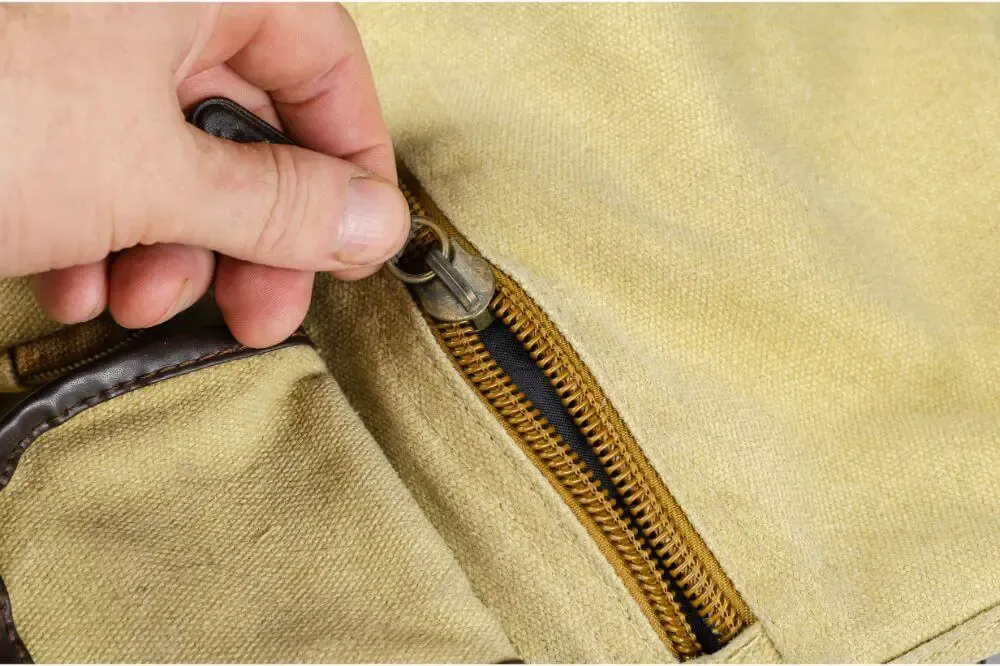
Sometimes zippers break or get stuck, and just for a moment, it feels like a disaster! Maybe you can’t open or close the backpack, a piece has broken off, or the teeth won’t mesh. Now your stuff isn’t safe anymore.
There are several things that can go wrong with a backpack zipper, and each has its own fix. So let’s look at how to fix a backpack zipper (properly!) and get you on your way again.
First, stop yanking it. Take some of the load out of the bag to take tension off the opening, then work out what’s actually wrong.
1. Fabric Is Caught in the Slider
Sometimes it’s just a bit of lining or thread caught in the slider. Ease the slider backward while gently freeing the fabric. Don’t yank it forward through the obstruction. YKK’s zipper-use guidance warns that forcing a snagged slider can make the jam worse.
Work slowly and stop if the fabric begins to tear. If you can’t free it without force, a repair shop can assess it before a small snag becomes a larger repair.
2. The Zipper Feels Gritty or Stiff
Dirt and grit build up in the teeth and can jam a zipper solid. Brush them out with a soft brush (an old toothbrush is perfect), then work a little diluted dish soap into the stuck area, wiggling the slider back and forth to loosen it.
Another old trick is to rub the tip of a graphite pencil up and down the teeth around the stuck spot. If you want something stronger, use a lubricant made for zippers, applied carefully. Skip the household grease and spray oils, which attract more dirt and can stain the fabric.
After cleaning, move the slider gently. If it still catches at the same place, inspect that section for damage rather than adding more lubricant.
3. The Teeth Separate Behind the Slider
This can indicate a worn slider, but damaged teeth or tape can cause problems too. Check the full length before deciding that a replacement slider will solve it.
A replacement needs to match the zipper’s type and size. Coil, molded plastic, and metal zippers aren’t interchangeable, and a kit labeled “universal” may not fit yours. GEAR AID’s slider guide shows where a size marking may appear on the slider. Photograph that marking and the zipper chain before ordering. A matching number alone isn’t enough: check the zipper type and ask the bag maker or a repair shop if you’re uncertain.
Don’t cut the zipper tape or remove a stop before you know how the replacement installs and how the end will be secured again. Check the bag’s repair service before making an irreversible alteration.
4. Teeth Are Missing or the Tape Is Torn
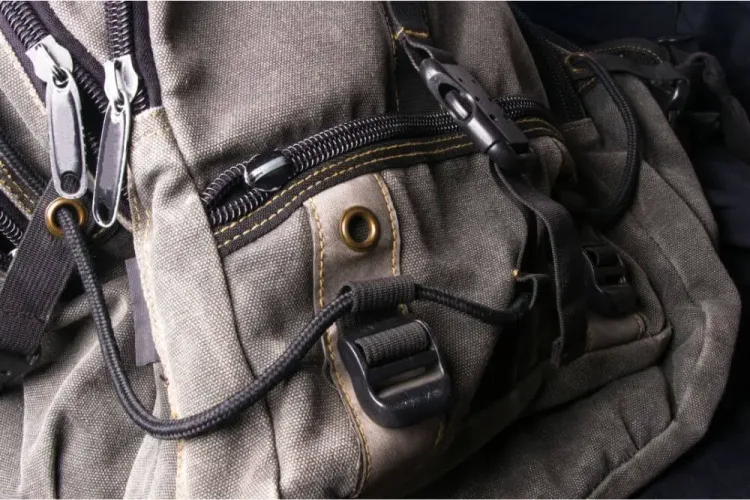
No amount of lubricant will replace a missing tooth. You might be tempted to bend metal teeth back with needle-nose pliers; if you try, be very gentle, as they snap easily (and leave plastic teeth and coils alone).
If the zipper tape itself is damaged, the zipper may need replacing. But if the tape has just come unstitched from the bag, the fix is simple: sew it back with heavy-duty thread, ideally in a matching color. A bag-repair shop can judge which repair is appropriate and whether lining or seams need opening for access.
5. Only the Pull Tab Has Broken
If the slider and its little loop are fine, this one’s easy. Thread a small key ring, a short cord loop or even a paper clip through the loop and use that as the pull. Or buy a replacement pull and do it properly.
If the attachment loop has broken too, a new pull alone won’t fix it; the slider needs assessment.
Before Loading the Bag Again
Run the repaired zipper gently along its full length while the bag is empty, then try it with a normal load. Don’t force an overfilled compartment shut. If the zipper repeatedly separates or catches, arrange a proper repair before trusting it to hold valuable contents.
To keep dirt from building up around the opening, follow the bag’s care label. Our backpack washing guide covers what each major brand recommends.